Audiovox VE720 Operations Instructions
Browse online or download Operations Instructions for DVD players Audiovox VE720. Audiovox VE720 Operating instructions User Manual
- Page / 34
- Table of contents
- TROUBLESHOOTING
- BOOKMARKS
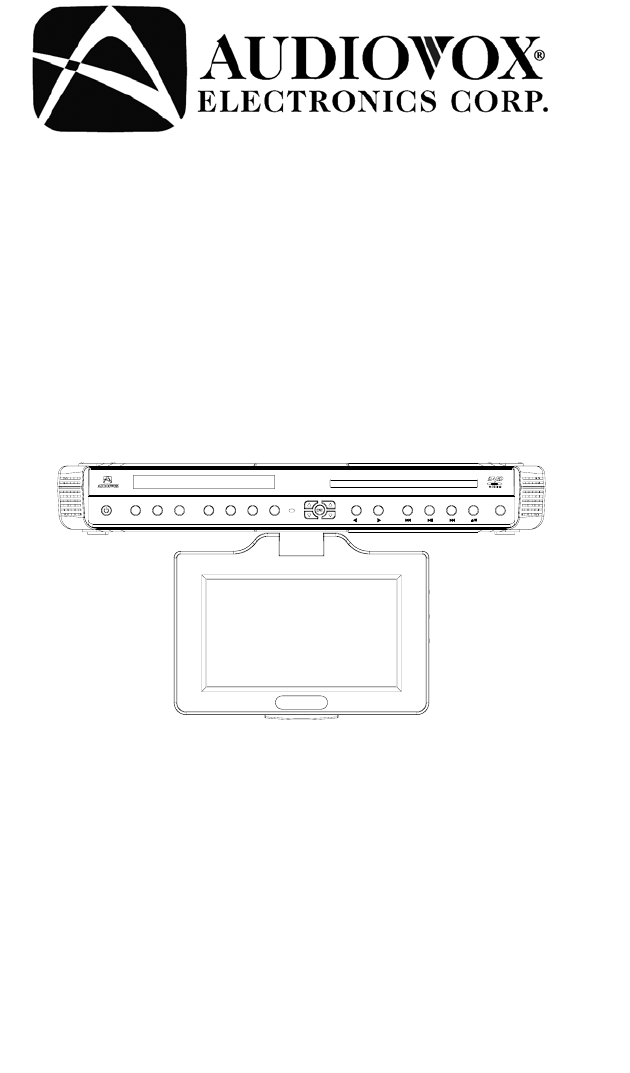
- UNDER THE COUNTER 7” TV 1
- AM/FM RADIO and DVD 1
- OWNER’S and INSTALL 1
- INTRODUCTION 2
- IMPORTANT SAFETY INFORMATION 4
- TABLE OF CONTENTS 7
- CONTENTS OF PACKAGE 8
- UNDER CABINET INSTALLATION 10
- FRONT PANEL CONTROLS 12
- REAR PANEL CONNECTIONS 13
- BATTERY INSTALLATION 14
- REMOTE CONTROL FUNCTIONS 15
- OPERATION 18
- USING THE DVD PLAYER 21
- NC-17. Adult 30
- TECHNICAL SPECIFICATIONS 32
- TROUBLESHOOTING CHECK LIST 33
Summary of Contents
0 • Slot-in DVD Player & 9” TFT LCD Monitor • Multi-function Remote Control • Cable Ready 125 Channel TV Tuner • AM/FM Radio •
9 1) Choose an appropriate mounting location underneath a cabinet or shelf. Close proximity to an electrical outlet, TV antenna or cable con
10 NOTE: Use caution to avoid damaging the LCD screen and the main unit when converting this unit from an under-counter unit to a countertop
11 1) ON/OFF BUTTON – Power ON/OFF. 2) SET BUTTON – Press this button to set the TIME, ALARM, TV Mode or Speaker Mode. 3)
1216) SEEK BUTTONS (TS-Right Side) – Press these buttons to go to next available channel with sufficient signal strength. 17) CHANNEL BUTTONS
138) (Rear View, Battery Size AAA) BATTERY INSTALLATION
14 REMOTE CONTROL FUNCTIONS (1) EJECT (2) DVD (3) TV (4) SETUP (5) SEEK DN, SEEKUP (6) MENU (7) FR(WW) (8) STOP( ) (9) PREV (IWW) (10) Digit 0
15DVD REMOTE FUNCTION (1) EJECT: Press this button to Eject and Load the disc tray. (2) DVD: Press this button to select DVD mode of operation.
16TV REMOTE FUNCTION (3) TV: Press this button to select TV mode. (5) SEEK DN/UP: Use these buttons to advance to the next higher or lower stati
17 INITIAL SETUP This unit defaults to cable TV mode. When the unit is first powered on, it will detect the cable system and auto-program
18SETTING and ACTIVATING the ALARM NOTE: The VE720 must be turned “OFF” when performing the following procedure. 1) Press the SET button twice t
1 WARNING – To prevent fire or shock hazard, do not expose this unit to moisture. CAUTION: TO REDUCE THE RISK OF ELECTRIC SHOCK, DO NOT REMOV
19SETTING THE CABLE TV MODE 1) Press the SET button three times to enter the TV/Cable configuration mode. 2) CABLE or AIR will appear on the
20 Inserting and Ejecting the Disc 1. Set the unit to DVD mode (press source button until (-----------) appears on the display. 2. Insert the
21Repetitive Playback –To Repeat a Specific Section 1. Press the REPEAT button once to enable the REPEAT selection screen, follow by pressing th
22Viewing Different Angles Angle indicator appears on the upper part of the LCD display. When the Angle indicator appears, press the ANGLE bu
23 During playback press DISPLAY to display the current disc playback information. Press display again to remove the display. 1. The type of
24PLAYING AUDIO CDS When playing an audio CD the display will automatically display the disc playback information. The options below show you w
25 1. Press the f or g button to choose a folder from the folder list on the left side of the screen. 2. Press ENTER to select the highlighted
26PLAYING A JPEG FILE 1. Insert the JPEG Disc into tray. 2. Select JPEG file by pressing the “UP/DOWN” button. 3. You can preview the JPEG file
27 3. Use the f or g buttons to highlight the desired menu item. 4. Press ENTER button to display the sub-menu. 5. Each sub-menu item
28VIDEO Menu 1. Press the SETUP button to display the main menu (see sample screen under LANGUAGE Menu) 2. Press the button to highlig
2INFORMATION Installation of this equipment shall be in strict accordance with the manufacture’s instructions. Failure to follow these instructi
29Rating Menu Press the SETUP button to display the main menu (see sample screen under LANGUAGE Menu). Use to select parental Rating: Kid Saf
30default settings.
31 GENERAL Power Supply : AC100-240V ~50/60Hz 40watts Operating Temperature : 0°~40°C / 32°~104°F Operating Humidity : 10% ~ 75% Body Size
32 Problem Solution Power does not turn on • Check if the power cord is securely plugged into the wall • Check if the batteries of the remo
33 © 2005 Audiovox Electronics Corp., Hauppauge, NY 11788 128-7340
3 1. Read Instructions – All the safety and operating instructions should be read before the product is operated. 2. Retain Instructions –
413. Power-Cord Protection – Route the power supply cord in a manner that protects it from being stepped on or pinched by items placed on it.
521. Replacement Parts – When replacement parts are required, be sure the service technician has used replacement parts specified by the manufa
6 TABLE OF CONTENTS Introduction 1 Important Safety Information 3 Table of Contents 6 Contents of package 7 Under Cabinet Installation 8
7 CONTENTS OF PACKAGE 5. Batteries (AAA) 6. FM Dipole Antenna 7. Right Angle Coaxial Adaptor 8. FM Antenna Balun 9. AM Antenna 10. Mou
8
Related products and manuals for DVD players Audiovox VE720
 (509 pages)
(38 pages)
(6 pages)
(9 pages)
(38 pages)
(509 pages)
(38 pages)
(6 pages)
(9 pages)
(38 pages)
 (53 pages)
 (22 pages)
(15 pages)
(22 pages)
(15 pages)
 (148 pages) (28 pages)
(28 pages)
(148 pages) (28 pages)
(28 pages)
© 2020, manymanuals.com. All rights reserved. | 1.606 s |
 Manymanuals.com
 Manymanuals.de
 Manymanuals.fr
 Manymanuals.it
 Manymanuals.pl
 Manymanuals.cz
 Manymanuals.es
 Manymanuals-pt.com
Comments to this Manuals