Audiovox FPE2005 Operations Instructions
Browse online or download Operations Instructions for LCD TVs Audiovox FPE2005. Audiovox FPE2005 Operating instructions User Manual
- Page / 44
- Table of contents
- BOOKMARKS
- Operating Instructions 1
- Contents Index 2
- Overview 3
- “DANGEROUS 4
- Control buttons 8
- Flip the cover open in 10
- Antenna connections 12
- (continued) 14
- Installation(continued) 15
- ANT INANT OUT 17
- Turning on 19
- Turning off 19
- Selecting input signal 19
- Signal Information Menu 20
- Picture adjustment 21
- System setting 22
- (continued) 24
- Content based 25
- Audio Setting 27
- Channel Setting 29
- Selecting channel 31
- Operations (continued) 32
- Timer setting 33
- YPbPr/YCbCr 34
- Picture Settings 35
- 619-3848 41
- 0.2125(H) x 0.6375(V) mm 42
- 604-L20H33-02 44
- 128-7354 44
Summary of Contents
Operating Instructions__________________________________________________Model No.: FPE200520” LCD TV For assistance, please call: 1-800-619-3848Or vi
Remote ControlDisplay the current stateMutePrevious channelAuto correct pictureChannel up/down selector.In menu operations, used to select item.Power
Please install the batteries before using the remote control.Effective range of the remote controlNotes:1.When the remote control will not be used for
InstallationInstall the unit in a room where direct light will not fall upon the screen. Total darkness or a reflection on the picture screen
FOR SUBSCRIBERS TO SCRAMBLED CABLE TV SERVICE OR SATELLITEFOR SUBSCRIBERS TO UNSCRAMBLED BASIC CABLE TV SERVICE WITH SCRAMBLED PREMIUM CHANNELSIf you
Power connectionPower cord14Installation(continued)Household power outletAC adapterConnect to the DC input socket of the back of the product.
Elevation adjustmentYou can adjust the angle of the LCD TV as follows. o o The elevation can be adjusted from -5 to +10 average.15Installation(cont
Connecting the Video/Audio equipmentComposite Video signal connection You can connect the unit to a DVD or VCR to enjoy playback with high quality pic
AV OUT connectionHow to connect:1. Connect cables as shown above.2. Turn on the LCD TV and select source.3. Turn on the VCR and insert the tape.4. Sel
YPbPr input connectionPlease connect the YPbPr input terminals on the TV set for better picture quality. And connect the audio outputs with the corr
Basic OperationsTurning onTurning offSelecting input signal1 Connect the power correctly, then the red indicator lights up and the unit is in STAN
Contents IndexCongratulations on your purchase of this LCD TV.We recommend that you read this manual thoroughly before use to fully enjoy the many fu
Picture Setting MenuSystem Setting MenuPicture Position MENUAudio Setting MenuChannel Setting MenuOSD Setting MenuSignal Information Menu TV/AV/S-
You can select picture mode by P.M button. There are four picture modes: Bright, Nature, Soft and User.Access Picture Setting menu by pressing ME
耋晤憮23blue screen settingbacklight adjustmentAccess the System Setting menu.Press CH5/6to select blue screen item.Press VOL+/- to select off or on.I
Setting Closed Caption(CCD)Parental Control with V-Chip1 Access the System Setting menu.2 Press CH5/6 to select ccd mode settings item.3 Pre
Please enter the V-chip sub-menu (previous page).Please enter the V-chip sub-menu (previous page).Age baseMovie Blocking settingTV blocking settingPre
Content Categories:* FV: fantasy violence (applies only to TV-Y7)* V: violence (applies to TV-PG and above, TV- 14 and Above, TV-MA)* S: sexual situat
Canadian French blocking settingChanging the passwordCanadian French Language Ratings: * E: Exempt.* G: Children.* 8 ans+: Children 8 years and older
Press VOL+/- to adjust volume. Press VOL+ button, the volume increases. Press VOL- button, t h e v o l u m e d e c r e a s e s . (Range:0-100)
Access the Audio Setting menu.Press CH5/6to select bass or treble item.Press VOL+/- to adjust the bass or treble.Access the Audio Setting
antenna searchingSelecting antenna/cableAccess Channel Setting menu.Please select antenna or cable before you start Auto Search. If the TV is
3OverviewGeneral DescriptionThis Audiovox product is a Color Active Matrix liquid Crystal Display (LCD) with an integral Cold Cathode Fluorescent Lamp
Adding/Erasing ChannelsAfter the Channel SEARCH, you can Add/Erase channels that you watch when you press the CH to change channels.
Using Keypad buttons1 Press CH5button, the channel number increases;2 Press CH6 button, the channel number decreases.NOTE: This feature works after
Access the OSD Setting menu.Press CH to select the language item.5/6Press VOL+/- to select an OSD language. English, Spanish and French can be s
耋晤憮Using Sleep buttonPress SLP button to display sleep timer menu. Press CH5/6 or VOL+/- repeatedly to set sleep time between:0, 10,
Operations in /YPbPr modeSelect YPbPr mode1 Press the SOURCE button on the unit or button on the remote control. The screen displays the me
Adjusting Brightness/Contrast Setting the color temperature1 Access the PICTURE menu.2 Press CH5/6to select brightness or contrast item.3 Press VO
36
4 The lightning flash with the arrowhead symbol within an equilateral triangle is intended to alert the user to the presence of uninsulated “DANGERO
41619-3848
4243SpecificationsN/A = Not Availablever: 00RFS-Video InputUnit W/O StandPAL/NTSCNTSCWarrantyParts & Labor 12 Month20.3 lbsStandby consumption12VD
43FPE20059093
PRINTED IN RECYCLED PAPER604-L20H33-02128-7354
Important Safety CautionsWhen any unusual situation occurs, turn off the power supply at once and remove the plug from the wall outlet. Contact a qual
When relocating the product placed on a trolley, it must be moved with the utmost care. Sudden stops, excessive force and uneven floor surfaces can ca
7Important Safety CautionsImportant Information Regarding use of Video Games, Computer, captions or other fixed images displaysThe extended use of a f
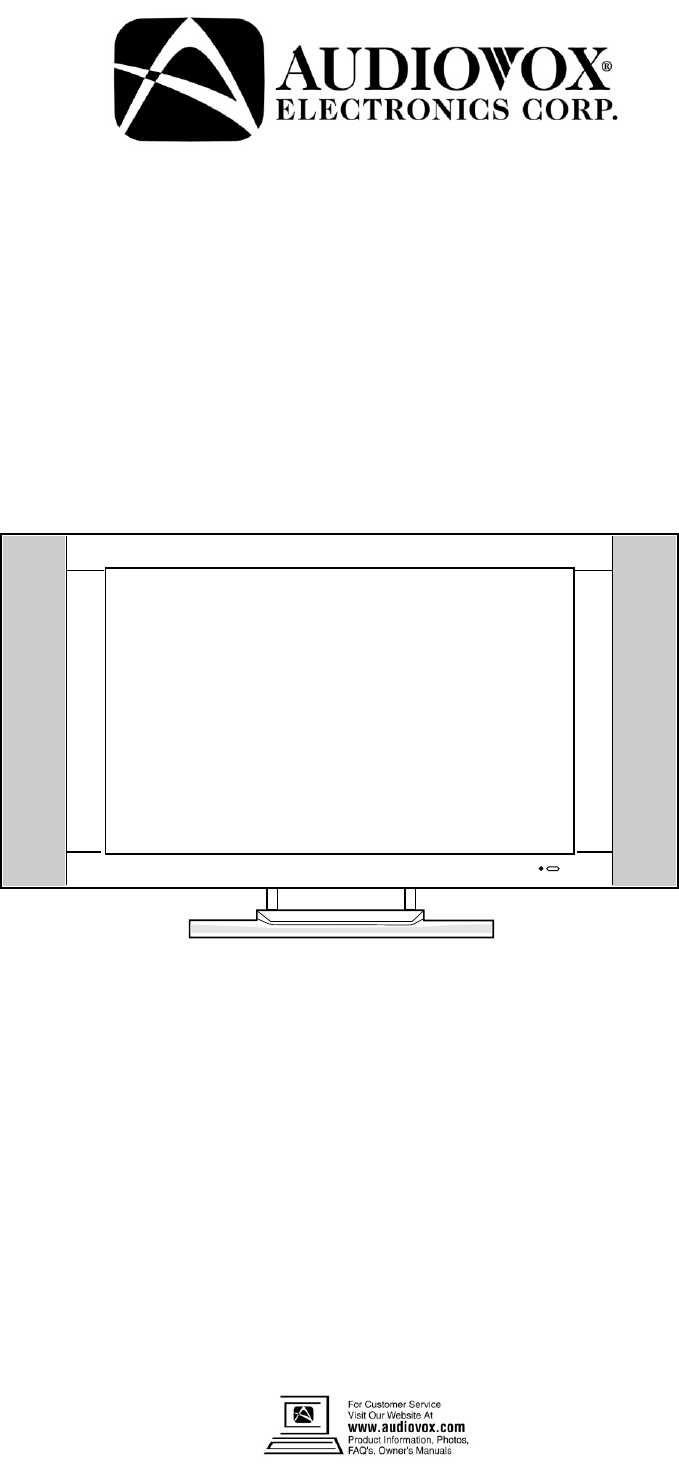
Identification of controlsControl buttonsPower On/ StandbyControl PanelPower IndicatorRemote SensorSpeakerSelect Input SignalMenuVolume Down/UpChannel
BackRF1245671. DC POWER inputConnect to the DC output of the Power Adapter.2. HDTV input (Y, Pb, Pr, Audio L, R)Connect to the Y/Pb/Pr (or Y/Cb/Cr) an
Related products and manuals for LCD TVs Audiovox FPE2005
 (33 pages)
(48 pages)
(33 pages)
(48 pages)
 (86 pages)
(66 pages)
(56 pages)
(19 pages)
(64 pages)
(86 pages)
(66 pages)
(56 pages)
(19 pages)
(64 pages)
© 2020, manymanuals.com. All rights reserved. | 3.245 s |
 Manymanuals.com
 Manymanuals.de
 Manymanuals.fr
 Manymanuals.it
 Manymanuals.pl
 Manymanuals.cz
 Manymanuals.es
 Manymanuals-pt.com
Comments to this Manuals