Audiovox D1917ES Specifications
Browse online or download Specifications for Portable DVD/Blu-Ray players Audiovox D1917ES. Audiovox D1917ES Specifications User Manual
- Page / 32
- Table of contents
- TROUBLESHOOTING
- BOOKMARKS
- EXTRA MONITOR 1
- E. Vehicle Installation 8
- Figure 6 10
- DCIN9V 11
- Figure 8 12
- H. Basic Operation 13
- Display Off 14
- Title Elapsed 14
- Title Remain 14
- Chapter Elapsed 14
- Chapter Remain 14
- 2. SUBTITLE 15
- A-B Repeat Starting Point 16
- Single Elapsed 17
- Single Remain 17
- Total Elapsed 17
- Total Remain 17
- MP3 file 19
- 3. Headphones 20
- N. Playing JPEG Files 21
- Q. Specifications 26
- DVD Player 26
- S. Troubleshooting 29
- Troubleshooting (Cont) 30
- 90 DAY LIMITED WARRANTY 31
- 128-8056 32
Summary of Contents
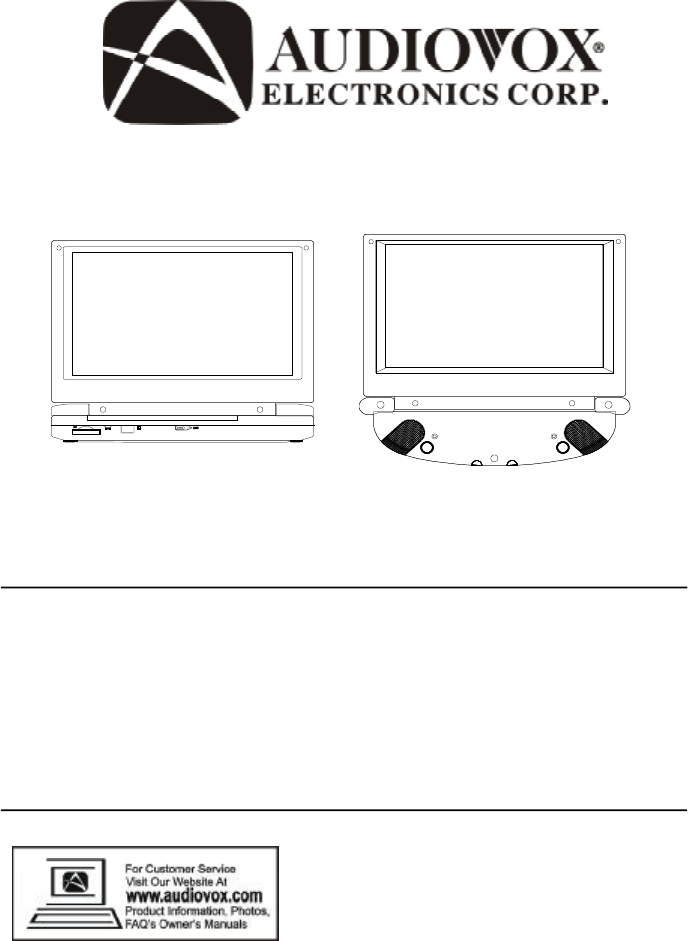
D1917ESPORTABLE 9" LCD MONITOR, DVD PLAYER ANDEXTRA MONITOR
10F. Controls, Indicators and Connectors1. LCD Monitor and DVD Player (Refer to Figure 6)Figure 611) Charge Indicator12) Headphone Jack 1*13) Headphon
11 2. Monitor View (Refer to Figure 7)Figure 71) Volume Up/Down Control2) Power ON/OFF Switch3) AV IN Jack4) DC 9V Jack5) Headphone Jack (Disables the
123. Remote Control (Refer to Figure 8)1) Setup Button2) Up Button3) Skip - Button4) Enter Button5) Reverse/Left Keypad6) Down Button7) Numeric
13H. Basic OperationPOWEROPENPAUSESTOPPLAYSkip + NEXTSkip - PREVIOUSFORWARDREVERSEANGLELEFT/RIGHT/UP/DOWNENTERNUMBERSMENUREPEATA-BDISPLAYSUBTITLEAUDIO
14I. MenuA DVD is divided into sections called titles and chapters. When youplay a DVD, the root menu of the disc will appear on the screen ofyour TV
15Audio Language2. SUBTITLEDuring disc playback press ‘SUBTITLE’ to select the subtitle languageyou desire*, with the current Subtitle Language Number
164. A-B REPEATa. During playback press ‘A-B’ to set the Starting Point A.b. Press ‘A-B’ a second time to set the Ending Point B. The playerwill repea
17K. Playing Audio CDsWhen playing an audio CD press the DISPLAY button repeatedly onthe remote to view time information. The options below are displ
18Total Elapsed:The current track playing and the total time that theCD has been playing.Total Remain:The current track playing and the amount of time
191. Press the or button to choose a folder from the folder list onthe left side of the screen.2. Press ENTER to select the highlighted folder. The
2An LCD panel and/or video monitor may be installed in a motorvehicle and visible to the driver if the LCD panel or video monitoris used for vehicle i
20M. Connecting to Other Electronic Equipment1. Connecting to a TV or Another Monitor ( Refer to Figure 9)a. Set the AV In/Out Switch to the “Out” Po
21*Plugging into Headphone jack 1 disables the internal speakers.4. SD/MMC/MS Card and Thumb Drive/Digital CamerasWith no disc in the unit, insert eit
22O. Connecting the Monitor to a Game or Camcorder(Refer to Figure 11)1) Set POWER ON/OFF to the ON position.2) Using the 1/8 to RCA A/V adapter cabl
23P. Setup1. General Setup Page1) With no disc inside the player, press ‘SETUP’ to display the Main screenof the Setup Menu on the screen and “General
242.Video Quality Setup1) In Setup menu, press the or button to select “Video QualitySetup” and is highlighted. Press ENTER to enter the video qual
25a) Audio: Selects the audio language you desire. Use the UP orDOWN buttons to select another audio language.b) Subtitle: Selects the subtitle la
26Q. SpecificationsDVD PlayerCompatible DISC: DVD/CD/MP3Signal system: NTSCPanel size: 9 inchFrequency response: 20 Hz to 20 kHzVideo output: 1 Vp-p/7
27NOTE: When the DVD player is used with the battery as a powersource, ensure that the battery has been charged for at least eighthours prior to conne
28Installing the Battery Pack:1. Set the Power ON/OFF switch to the OFF position.2. Disconnect the DVD player from the AC power source.2. Flip down t
29S. Troubleshooting• Make sure your DVD is connected properly.Make sure all cables are securely insertedinto the appropriate jacks.• You can’t advanc
3ContentA. Introduction ... 4B. Cautions and Warnings ...
30SOLUTIONPROBLEMTroubleshooting (Cont)IR sensorinoperative• Verify that the batteries in the remote arefresh.• Verify that the remote sensor eye is n
31 U.S.A. : AUDIOVOX ELECTRONICS CORPORATION, 150 MARCUS BLVD, HAUPPAUGE, NEW YORK 11788 l 1-800-645-4994CANADA : CALL 1-800-645-4994 FOR LOCATIO
32 128-8056© 2007 Audiovox Electronics Corporation
4A. IntroductionThank you for choosing the D1917ES portable DVD player and extramonitor. The main features include two 9" Digital Screen (16:9 As
5result in a fire or electric shock). Do not place anything heavy onthe unit. To ensure proper ventilation and proper operation, nevercover or block
67.Regional CodingBoth the DVD player and disc are coded by region. Theseregional codes must match in order for the disc to play. If thecodes don’t ma
7Note: Unplug the the unit from its power source and remove therechargeable battery if the unit is not going to be used for a longtime.2. Powering the
8 E. Vehicle InstallationInstalling the DVD Player and monitor onto a car seat(Refer to Figures 3 through 5)1).Unfold the carry bag and place the DVD
9 Installing the monitorOption 1 Vehicle Headrest (Refer to Figure 4)Figure 4 Slide the Monitor into the pouch and attach the Velcro straps to se-c
Related products and manuals for Portable DVD/Blu-Ray players Audiovox D1917ES
 (20 pages)
 (24 pages)
 (96 pages)
 (60 pages)
© 2020, manymanuals.com. All rights reserved. | 0.636 s |
 Manymanuals.com
 Manymanuals.de
 Manymanuals.fr
 Manymanuals.it
 Manymanuals.pl
 Manymanuals.cz
 Manymanuals.es
 Manymanuals-pt.com
Comments to this Manuals