Audiovox AXDVD1 Owner's Manual
Browse online or download Owner's Manual for DVD players Audiovox AXDVD1. Audiovox AXDVD1 Owner`s manual User Manual
- Page / 28
- Table of contents
- TROUBLESHOOTING
- BOOKMARKS
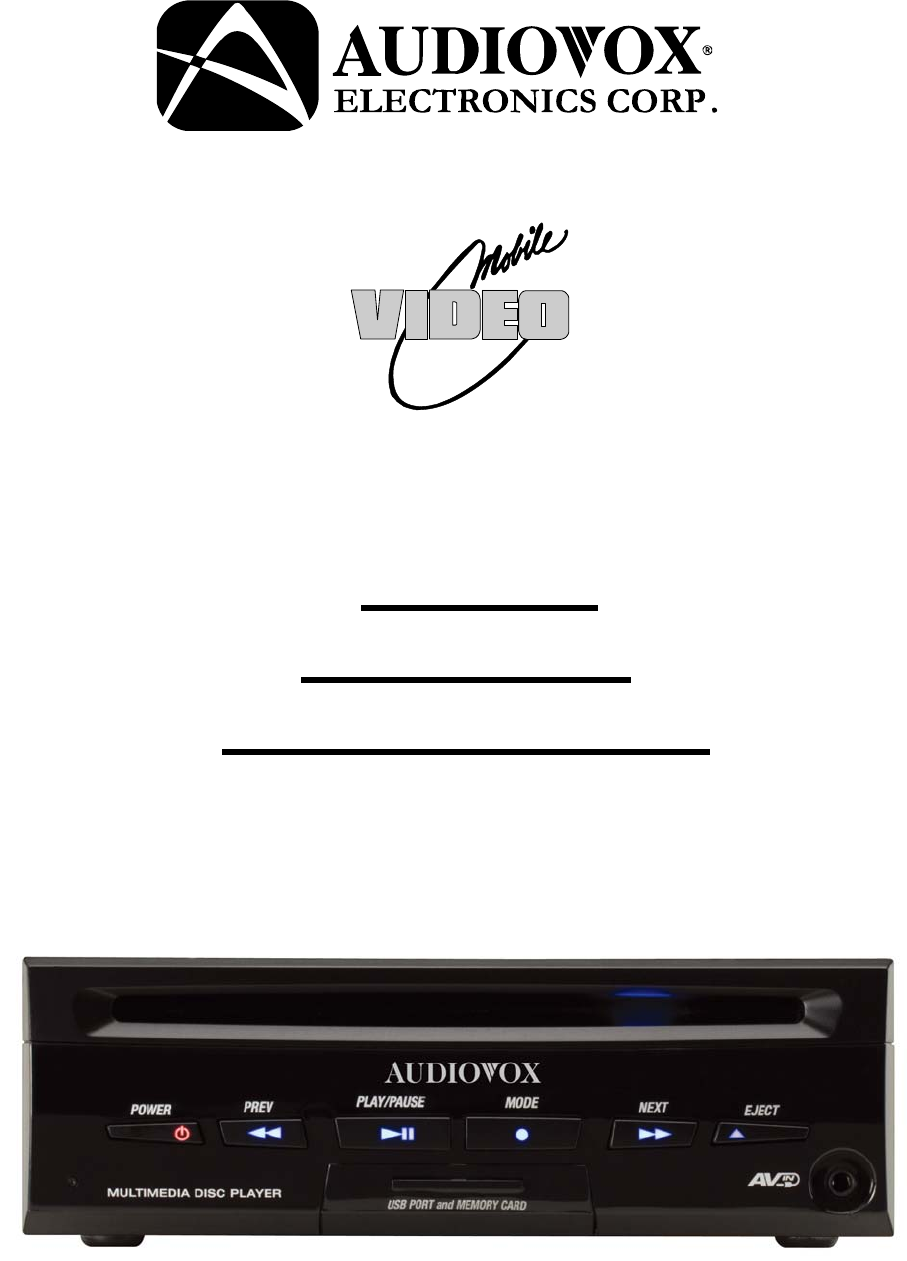
- AXDVD1 1
- DVD PLAYER 1
- OWNER’S MANUAL 1
- TABLE OF CONTENTS 2
- SAFETY INFORMATION 4
- FEATURES 5
- CONTENTS 5
- DISC NOTES 6
- INSTALLATION 7
- CONNECTIONS 9
- AND CONNECTORS 10
- REMOTE CONTROL FUNCTIONS 11
- OPERATION 15
- W/X, S/T buttons on 16
- buttons to move the 17
- cursor buttons on 18
- buttons to move 20
- buttons to 20
- button select the speaker 22
- TROUBLESHOOTING 24
- SPECIFICATIONS 25
- z 1-800-645-4994 26
Summary of Contents
AXDVD1 DVD PLAYER OWNER’S MANUAL 128-9004
10 FRONT AND REAR PANEL CONTROLS, INDICATORS AND CONNECTORS Front panel: Rear panel: 1. POWER button 2
11 Rear panel: Remote Control 1. MUTE Press this button to mute the audio. Pressing the button again restores the
12 4. SUB-T Press this button to display and select the subtitle language in DVD mode. Each time the button is pressed, the subtitle language change
13 15. EJECT Press this button to eject a disc. 16. A-B Press this button to repeat a specific section of a disc. Press this button to mark down
14 Remote Control Initial use Initial Use When purchased, the remote control has a battery installed with a Pull Tab to prevent battery discharge.
15OPERATION BASIC OPERATION Turning the DVD player on/off Press the POWER button on the front panel or POWER button on the remote control to t
16OPERATION DVD OPERATION continued Fast forward/fast reverse Press the NEXT XX or the PREV WW buttons on the front panel or / buttons on the rem
17OPERATION DVD OPERATION continued During zoom mode, press W/X buttons to move the picture to the left/right, and press the S/T buttons to move t
18 OPERATION DVD OPERATION continued Program play In program play mode, you can play tracks in a desired sequence. Press the PROG button on the re
19OPERATION CD/MP3/VCD OPERATION Note: For VCD2.0 discs when the PBC function is activated the Repeat, Random, A-B Repeat, Program and GOTO functi
2 TABLE OF CONTENTS SAFETY INFORMATION……………………………………………………..4 FEATURES ... ……………………………………………………..5 CONTENTS...
20 OPERATION SYSTEM SETUP The System Setup menu allows you to personalize the DVD player settings to your preference. DVD SETUP In DVD mode, while
21OPERATION SYSTEM SETUP continued g. DEFAULT: This item allows a user to restore all the factory default settings except the settings for the Pa
22OPERATION VIDEO SETUP continued b. CONTRAST: Adjusts the brightest highlights level in the picture. Use the X button to select the adjustment sc
23OPERATION DIGITAL SETUP continued b. DYNAMIC RANGE: Used to adjust the dynamic range between 1/8, 2/8. 3/8, 1/2, 5/8, 3/4, full. c. DUAL MONO:
24TROUBLESHOOTING If it appears that your DVD player is not operating correctly, please consult this checklist. Under no circumstances should you tr
25SPECIFICATIONS GENERAL Power Supply Requirements 12 Volts DC, Negative Ground Line Out 2.0Vp-p Video Output 1 Vp-p 75 Ohm unbalanced Compati
2612 MONTH LIMITED WARRANTY Applies to Audiovox Mobile Video Products AUDIOVOX ELECTRONICS CORP. (the Company) warrants to the original retail pur
27NOTES
28 © 2011 Audiovox Electronics Corp., 150 Marcus Blvd., Hauppauge, N.Y. 11788 128-9004
3 TABLE OF CONTENTS CD/MP3/VCD Operation...…………………………………………..…………...…..19 USB and Memory Card Operation ...
4 Thank you for choosing the AXDVD1 DVD Player. The AXDVD1 is designed to optimize the enjoyment of your favorite DVDs in a mobile environment. This
5FEATURES z Compatible with PAL and NTSC. This DVD player can play discs recorded in either PAL or NTSC format. z Left/Right stereo analog aud
6DISC NOTES y To get the optimum use out of the DVD player, make sure you read this section completely. Handling and Cleaning y Dirt, dust, scrat
7INSTALLATION REMOVE SCREWS BEFORE INSTALLATION Before installing the unit, please remove the two transport screws. The unit should be ins
8INSTALLATION 1. Powering your DVD player (Refer to the Connections illustration) Connect the black wire (-) to the vehicle ground. Connect the
9CONNECTIONS Video connections to a monitor can be done with RCA-type video connections. As a precaution, be sure to turn off the power of the DVD
Related products and manuals for DVD players Audiovox AXDVD1
 (90 pages)
(34 pages)
(90 pages)
(34 pages)
© 2020, manymanuals.com. All rights reserved. | 0.221 s |
 Manymanuals.com
 Manymanuals.de
 Manymanuals.fr
 Manymanuals.it
 Manymanuals.pl
 Manymanuals.cz
 Manymanuals.es
 Manymanuals-pt.com
Comments to this Manuals