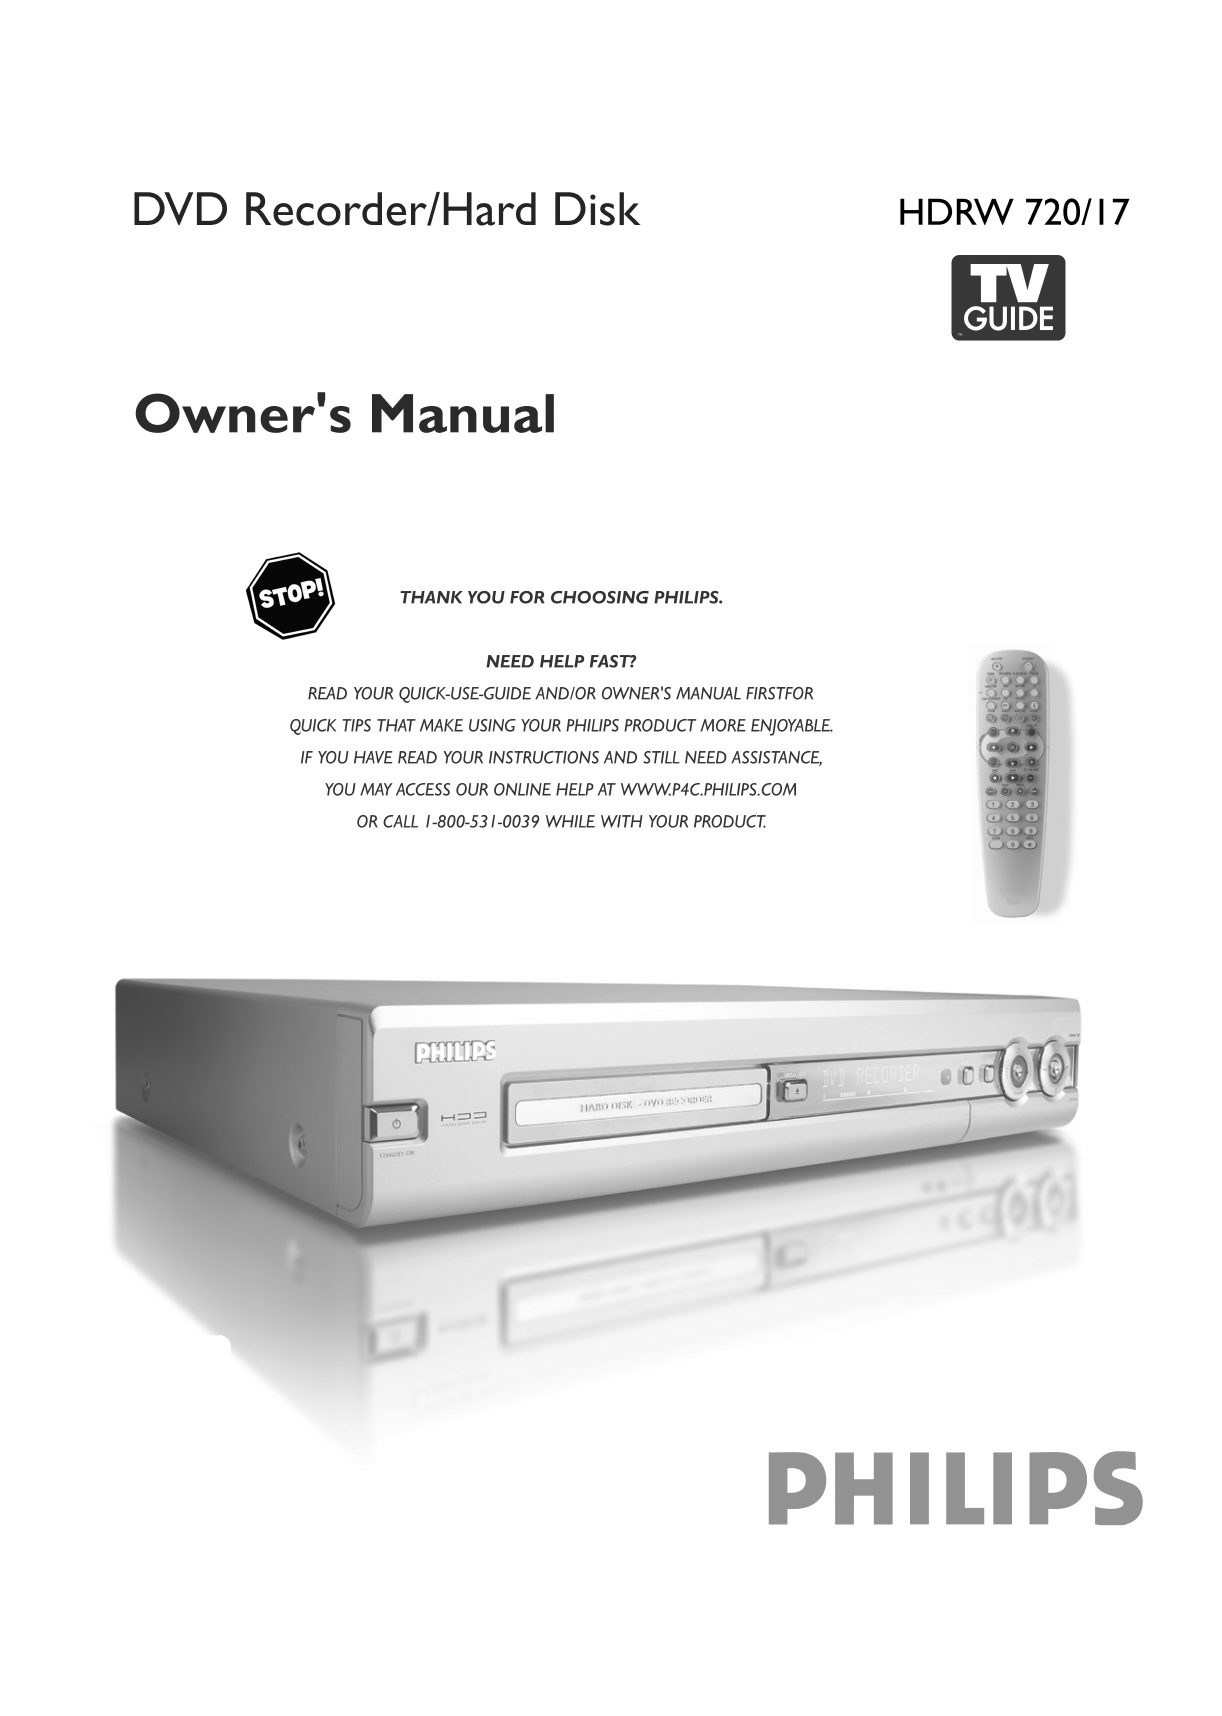
Audiovox PR-140 Service Manual
Browse online or download Service Manual for DVD players Audiovox PR-140. Audiovox PR-140 Technical data User Manual
- Page / 90
- Table of contents
- BOOKMARKS
- Acknowledgments 3
- Safety Information 4
- IMPORTANT SAFETY INSTRUCTIONS 5
- Table of contents 6
- Overview of functions 10
- Introduction 14
- Connecting the DVD recorder 19
- Connecting additional devices 22
- Installation 24
- Automatic TV channel search 27
- P The menu bar appears 28
- Setting the time and date 29
- General information 31
- Finalize set<up 32
- The TV Guide On Screen™System 33
- The 'SORT' screen 34
- The 'SETUP' screen 36
- Recording on the HDD 37
- Guide On Screen™ system' 42
- Playback from the HDD 46
- Recording on a DVD+RW/+R 53
- Playback from a disc 54
- Additonal playback features 57
- Managing the disc contents 60
- Disc Manager (DM) 66
- User preferences for the HDD 68
- Additional user preferences 71
- Access control (Child Lock) 74
- Menu bar 1 77
- Menu bar 2 77
- Disc type symbols 77
- Operating mode symbols 77
- Before you call an engineer 80
- PROBLEM SOLUTION 83
- EL6506E003 / 09-02 84
- HDRW 720/17 88
- Technical data 89
Summary of Contents
3AB Cursor buttons up, down in the menus.Previous or next position in the time shift buffer during playback fromHDD.DC Cursor buttons left, right in t
4Additional TV functionsWith the enclosed multicode remote control you can control the main functions of your TV set.To do this, you must first enter
5Front of the deviceSTANDBY-ON m : To switch device off / on, interrupt a function.TRAY LED : Red light around the disc tray indicates recording on aD
6Back of the device4MAINS Connection to the household AC-outlet (110V/60Hz)ANTENNA IN Connection of the antennaTV OUT Connection of the antenna cable
7Welcome to the growing family of owners of PHILIPS equipment.Thank you for buying a HDRW 720/17 .Time-shift TV viewing is possible with the hard disk
8Super Video CDCD-R (CD-Recordable) with Audio/MP3 contentCD-RW (CD-Rewritable) with Audio/MP3 contentRegional codeDVDs must be marked 'ALL'
9C This electronic equipment contains several materials that can berecycled. If you are disposing of an old device, please take it to arecycling centr
10Special functions of your DVD recorderYour PhilipsDVD recorder has a number of special functions to make it easier to use and toenhance your enjoyme
11The TV Guide On Screen™Systemgives you an on-screen listing of what's on TV. It also letsyou program your DVD recorder by selecting the show yo
12Preparing the remote control foroperationThe remote control and its batteries are packed separately in theoriginal DVD recorder packaging. You must
Visit our World Wide Web Site at http://www.philips.comReturn your Product Registration Card todayto get the very most from your purchase.Registering
13Connecting to the TVChoose from the following connections:Connection with Component<Video< (Y Pb Pr) cableConnection with S<videocableConne
14Connecting with Video (CVBS) cableThis cable, usually featuring yellow cinch plugs, is used for transmittingthe Composite Video Baseband Signal (CVB
15Connecting a video recorder, DVDplayer.You can also connect a video recorder or a DVD player to the inputjacks.O Connect the DVD-Recorder directly w
16Connecting a camcorder to the frontjacksTo copy camcorder recordings, you can use the front jacks. Thesejacks are behind the door in the lower right
17Initial installationAfter you have successfully connected the DVD Recorder and otherdevices to your TV (as described in the previous chapter), this
18What is the language of the subtitles?The subtitles will be displayed in the language you select, provided thislanguage is available on the disc. If
19Tuner modeYour DVD-Recorder is equipped with a so called Tuner Mode. Withthe button TUNER you can switch between playback from theHDD/disc or the Pi
20Automatic TV channel searchIf the channel assignments of your cable or satellite TV provider changeor if you are reinstalling the DVD recorder, e.g.
21Adding and clearing TV channelsmanuallyWith this function you can block TV channels on which reception isnot possible. They will be skipped when the
224 Select the appropriate line and confirm with C .O Playback audioThe DVD will play back in the language you have chosen.O 'Subtitle'Subti
The 'HDRW 720/17' is based in part on the Entropy Gathering Daemon, which is copyright (C) 1999-2000 Brian Warner. AllRights Reserved. Regar
23Setting the time and dateIf the time is still incorrect, this may be due to a weak or faulty TVsignal. In this case, switch off the automatic settin
24General informationYour DVD Recorder is equipped with the TV Guide OnScreen™System. The TV Guide On Screen™System offers a freeinteractive electroni
25Connecting the IR<BlasterThe cable box is controlled via the DVD recorder with the IR-Blaster(supplied). This means you can record TV shows that
26The TV Guide On Screen™SystemGeneralThe TV Guide On Screen™System is a free on-screen listing for all theTV channels in your area. You can also use
27The 'LISTINGS' screenThis list appears when you press the TV GUIDE button. You can viewthe listing for all the TV channels from today to t
28The 'SCHEDULE' screenThis menu displays the shows that are set to record or play backautomatically.The following information is also displ
29The 'SETUP' screenThe basic settings of the TV Guide On Screen™System areautomatically stored after the initial set-up has been completed.
30GeneralAs soon as you turn on the DVD recorder, the currently selected TVchannel on the DVD-Recorder is recorded in a temporary storage(Time shift B
31Symbols in the 'Time Shift Buffer'Following symbols can appear in the info bar at the top of the screen inthe 'Time Shift Buffer&apos
32Mark TV shows for recordingAs a rule, recordings in the time shift butter are automatically deletedafter a certain time (1 to 6 hours). In order to
Safety PrecautionsWarning: To prevent fire or shock hazard, do not expose this equipment to rain or moisture.Federal Communications Commission (FCC) W
33Manual recordingsRecordings from the actual on the DVD-Recroder selected TV channelare always started and recorded in the time shift buffer as soon
34Recording from a camera connected tothe front jacksUsing this function, you can store recordings via the front jacks directlyon the HDD. These title
35GeneralUse 'Programming a recording (TIMER)', to automatically start and stopa recording at a later date.The DVD recorder will switch to t
36Programming recordings with the VCRPlus+®SystemThanks to this programming system, you no longer need to tediouslyenter the date, TV channel, start a
37Programming recordings without theVCR Plus+®SystemPreparation:•) Switch on the TV set, and if necessary, select the channel for the DVDrecorder (cha
38Cancel a programmed recording inprogressA programmed recording will run as long as the end of the TV show isreached (end time of the schedule or end
39GeneralEach recording stored on the HDD is displayed in the media browserwith a corresponding index picture.1 Press BROWSER HDD on the remote contro
40Zoom featureThe Zoom feature allows you to enlarge the video image and panthrough the enlarged image during play back from the HDD or fromthe time s
41Change order for the media browserYour may choose only titles that meet certain criteria for the overview.This order will remain until you exit the
42Edit titleUse this function to adapt the title (recording) to your personalpreferences.1 Press BROWSER HDD on the remote control.P The Media Browser
1. Read these instructions.2. Keep these instructions.3. Heed all warnings.4. Follow all instructions.5. Do not use this apparatus near water.6. Clean
43Editing recorded titles (name)From the TV Guide On Screen™data the title (name) of a TV show willbe taken automatically (e.g. 'ROCKY'). Ot
44Delete titles/recordings from the HDDYou can remove titles/recordings from the HDD to use the capacityfrom the HDD for new recordings.1 Press BROWSE
45Hide chapters (sections)By default, all chapters are visible. You can hide or unhide certainchapters during playback (e.g. unwanted scenes).In the e
46Archiving (storing) titles on aDVD+RW/+RYou can choose the title of the HDD that you want to transfer on aDVD+RW/+R. The copying process is done at
47General notes on playbackWith this DVD recorder you can play back the following systems:•) DVD Video•) (Super)Video CD Disc•) DVD+RW Disc•) DVD+R Di
48Playing a DVD video discA menu may appear when a DVD is played back. If the titles andchapters are numbered, press a number button on the remote con
49Playing an MP3 CDMP3 (MPEG1 Audio Layer-3) files are highly compressed music files.Using this technology the data volume can be compressed by a fact
50GeneralDVD's are divided in titles and chapters.O During playback, press O to go to the next title. If thereare several chapters within a title
51Repeat/Shuffle playYou can mark entire sections or the whole disc for endless playback.Depending on the type of disc (DVD video, DVD+RW, video CD) y
52Select the audio languageMany pre-recorded DVD discs have more than one audio language.The language initially selected for playback will be the one
Overview of functions 1...Functioning of the device 1...
53GeneralCharly 100:29:59 • M1Fr15/02/2004Empty title01:30:01When a recording is made to disc, the following additional informationis also stored at t
54Hiding chaptersInitially, all the chapters are visible. You can hide chapters for playback(e.g. unwanted scenes) or make them visible again. In edit
55Deleting chapter markersWithin a title you can delete either all markers or individual markers.Favorite Scene SelectionInserting chapter marker Pres
56Dividing titlesYou can divide a title into several sections (titles) of any size. Each ofthese sections (titles) is identified by its own index.Note
57Erasing recordings/titlesYou can erase specific recordings from a disc.Please note: If there is an 'Empty title' between titles, this spac
58Changing the disc name1 In the 'Disc info display' press C .P The 'Settings for' menu appears on the TV screen.Settings for Phil
59General informationThe 'Disc Manager' is an integrated database in the DVD recorder thatremembers all recordings on DVD+RW/+R discs made b
60Searching for a title in the DiscManagerThis function can be used to quickly and easily find and play back arecording saved in the Disc Manager.1 Pr
61GeneralThis section describes how you can adjust the functions of the HDD toyour personal preferences.When you press SYSTEM MENU , a so-called puck
62'Time search'Using this feature, you can search a position by time. You can use thisfeature both for titles in the media browser and for p
Playing a DVD video disc 48...Playing a DVD+RW/ +R disc 48...
63'Filter'Here you can choose between:I can not select this functionCheck the actual record mode selected. This function is available in the
64GeneralThis section describes how you can make additional personal settings.The symbols have the following meaning:Picture settingsSound settings
65- Disconnect the recorder's power cord.- Hold down N on the DVD Recorder while reconnecting the powercord. 'PRO' (progressive scan) a
66Additional settingsYou can select the following functions in this menu:FeaturesStatus box OnStandby NormalDisplay Bright'Status box'During
67Child lock (DVD and VCD)This feature enables discs to be locked for children.When Child Lock is on, a 4-digit code (PIN) needs to be enteredbefore a
68Parental level control (DVD videoonly)Films on pre-recorded DVD discs may contain scenes not suitable forchildren. Therefore, some discs may contain
69Changing the PIN codePreparation:•) Switch on the TV set, and if necessary, select the channel for the DVDrecorder (channel 3 or 4).•) Switch on the
70You can check or change many of the functions and settings of yourDVD recorder via the system menu bar.Symbols in the menu barPress DISC MENU and th
71The symbols on your DVD recorderdisplayThese symbols can light up on your DVD recorder display:Multi-function display/text line•) Clock•) Disc/title
72HDD: within a title 500, on the HDD 1000 (spreaded over thewhole HDD)DISC FULL The disc/HDD is full. There is no space for new recordingsPAL DISC A
1Functioning of the deviceYour Philips DVD/HDD recorder mainly consists of the following components:HDD recorderFor recording in a temporary storage o
73If you have any problems using this DVD recorder, the reason may be one of the following. You canalso call the customer service centre in your count
74PROBLEM SOLUTIONNo playback on DVDrecorder:bThere is no recording on the HDD/disc: Check the titles from the HDD in the media browser (buttonBROWSER
75PROBLEM SOLUTIONMissing or wrong TVchannelsbWrong cable connection selectedThe cable box do notalways react to the IRBlasterbThe Infrared (IR) Remot
76PROBLEM SOLUTIONA DVD+RW disccannot be played oncertain DVD playersbIf a recording is too short, it is possible that a DVD player cannot detect it:
This warranty gives you specific legal rights. You may have other rights which vary from state/province to state/province.Philips, P.O. Box 520890, Mi
78ChaptersAlso known as 'scenes', a DVD movie can be broken up into sectionsmuch like the chapters of a book, that can be accessed quickly a
79A Mark 146...Action 116...Admiral 093, 134, 209, 262, 306,...332Aiko 0
80LXI 001, 006, 033, 037, 043, 044,...097, 111, 113, 134, 148M Electronic 201, 211, 212, 233,.236, 246, 250, 258,272, 279, 283, 285,287Magnadyne 209,
81279, 283, 285, 287, 292,309, 313, 324, 330, 332Univox 250...Vestel 250...
Technical dataStorage mediaHard Disc recording: 120 GB HDDTV systemsPlayback: NTSCRecording: NTSCInternal tuner: NTSCOptical discPlayback RecordingDVD
2The remote controlREC/OTR n Record the current TV show on the HDD, mark recordings in the timeshift buffer to be stored on HDD.Hold button down to st
(WwnnNNNwwnnwWNnwNwnNwnNnWNnwwN)3103 605 214014252/000HDRW 720/17
Related products and manuals for DVD players Audiovox PR-140
 (8 pages)
© 2020, manymanuals.com. All rights reserved. | 1.620 s |
 Manymanuals.com
 Manymanuals.de
 Manymanuals.fr
 Manymanuals.it
 Manymanuals.pl
 Manymanuals.cz
 Manymanuals.es
 Manymanuals-pt.com
Comments to this Manuals